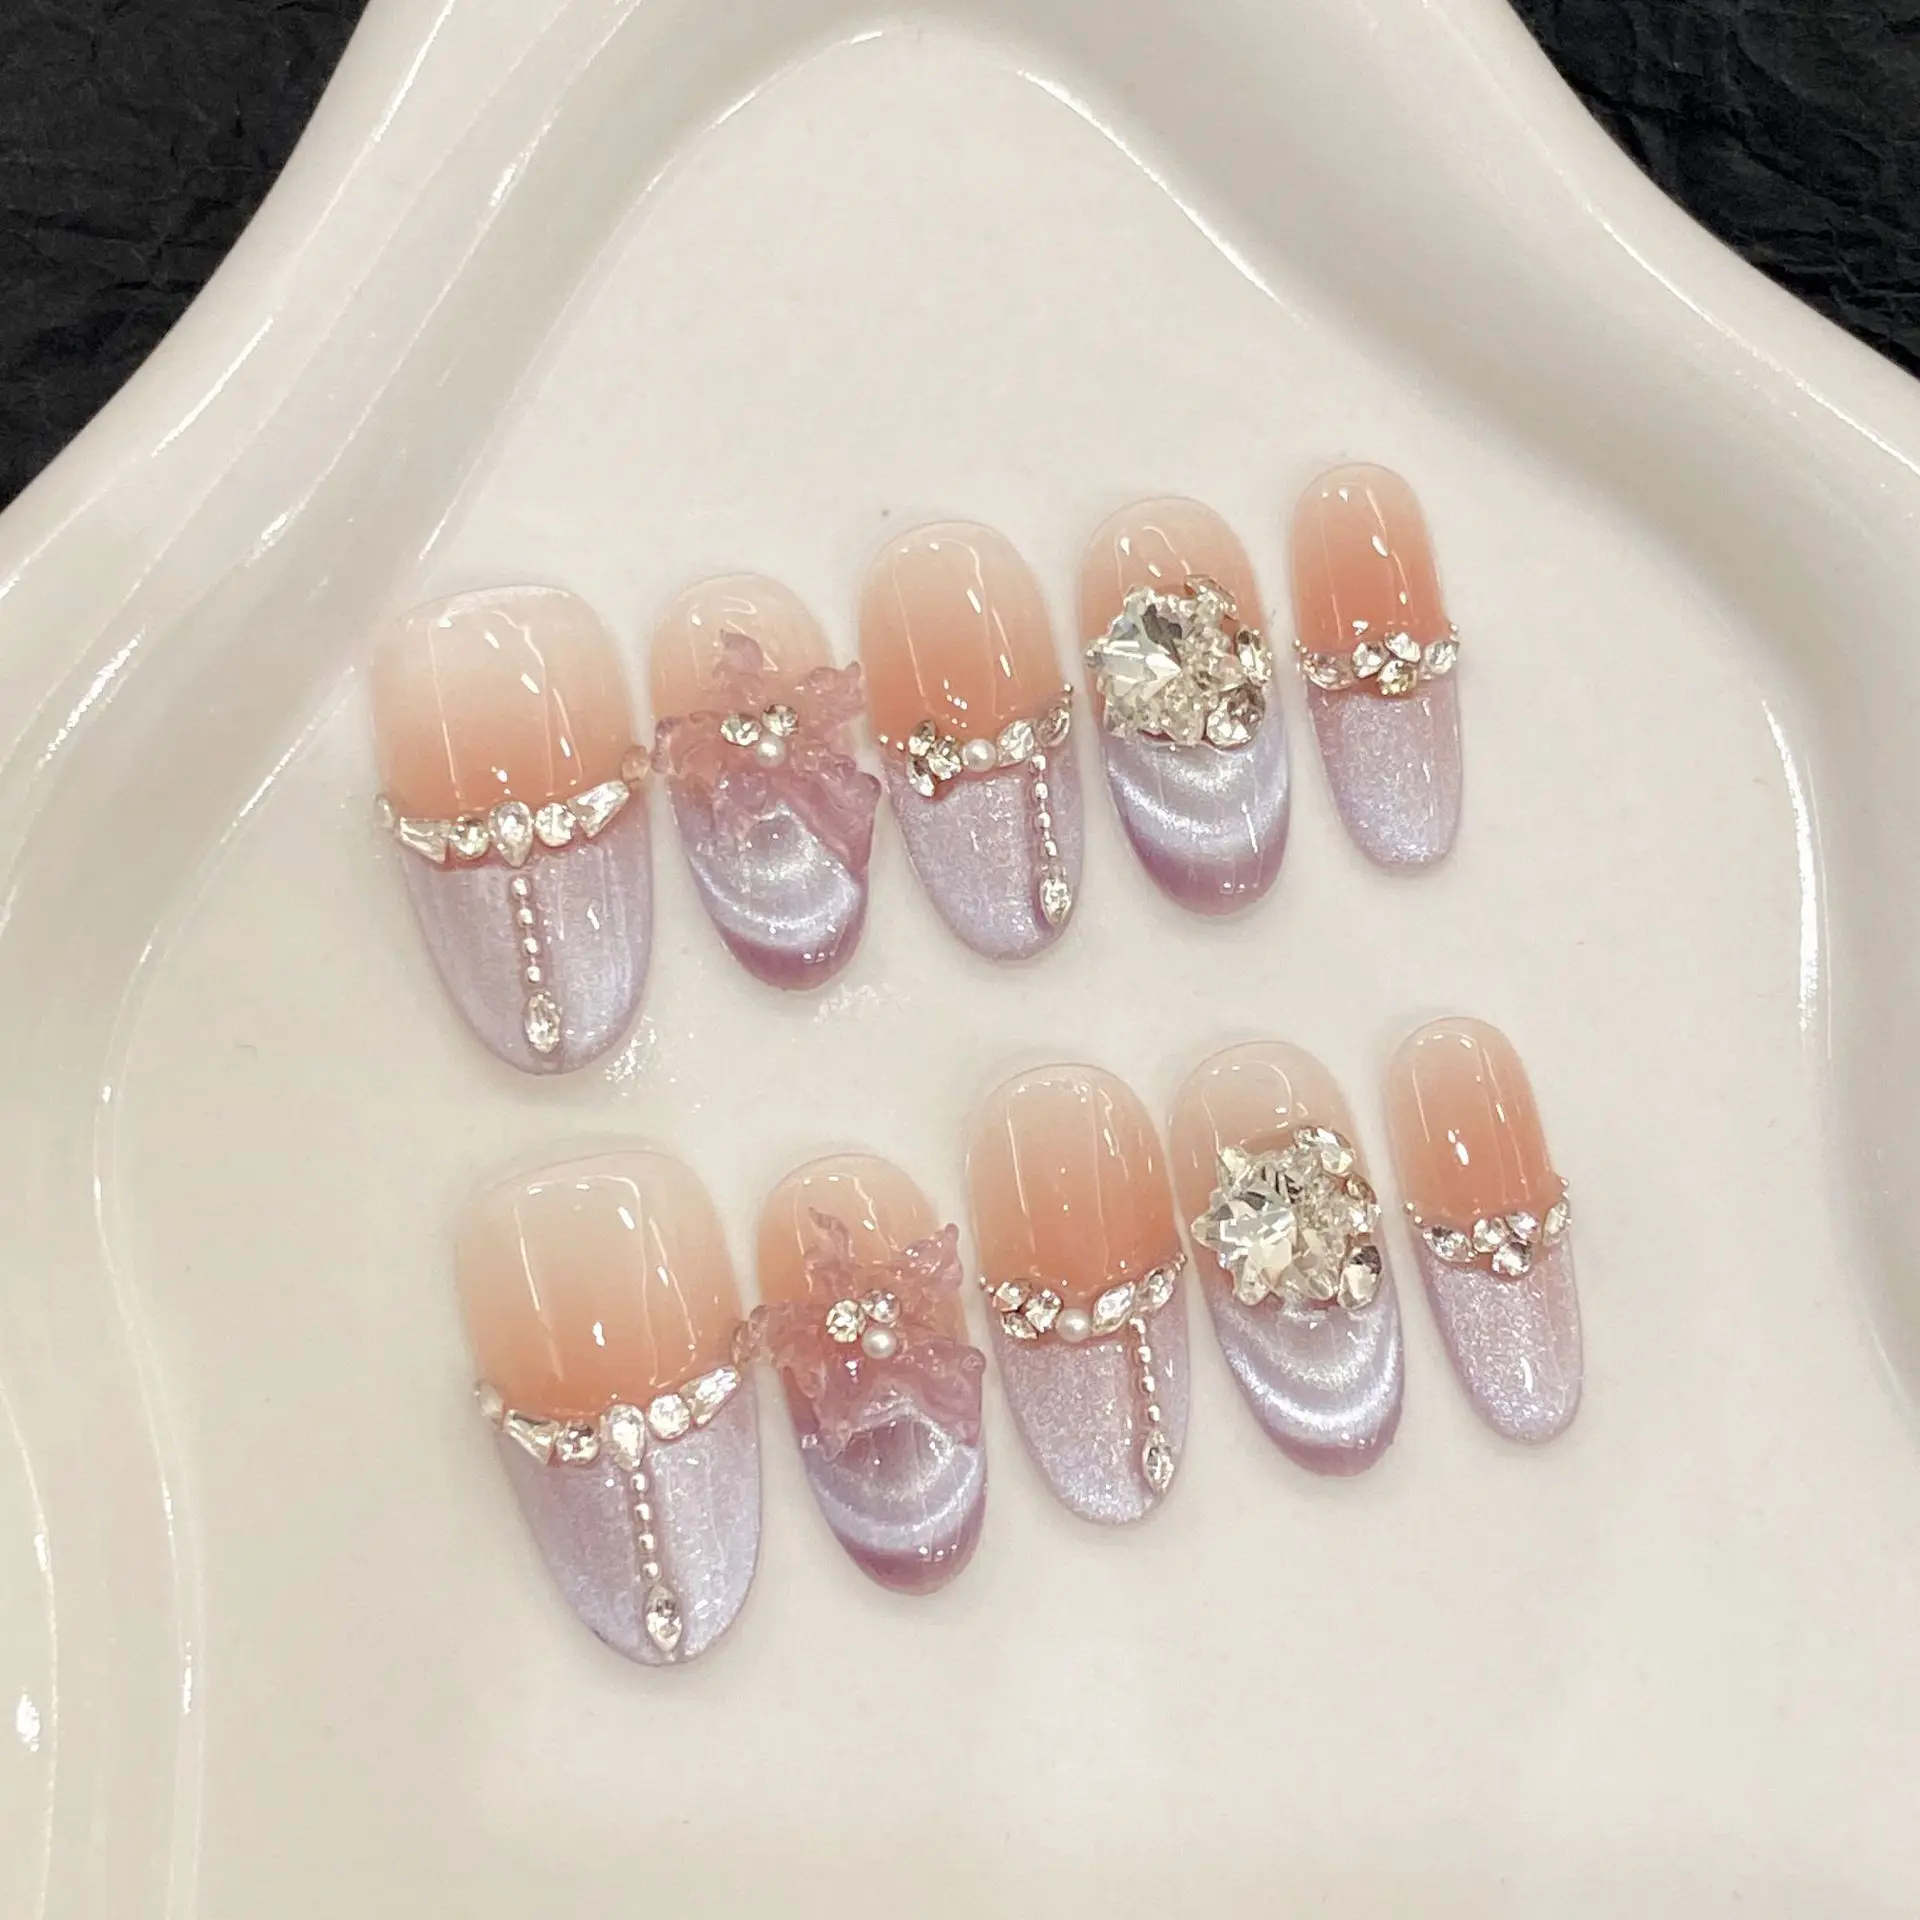
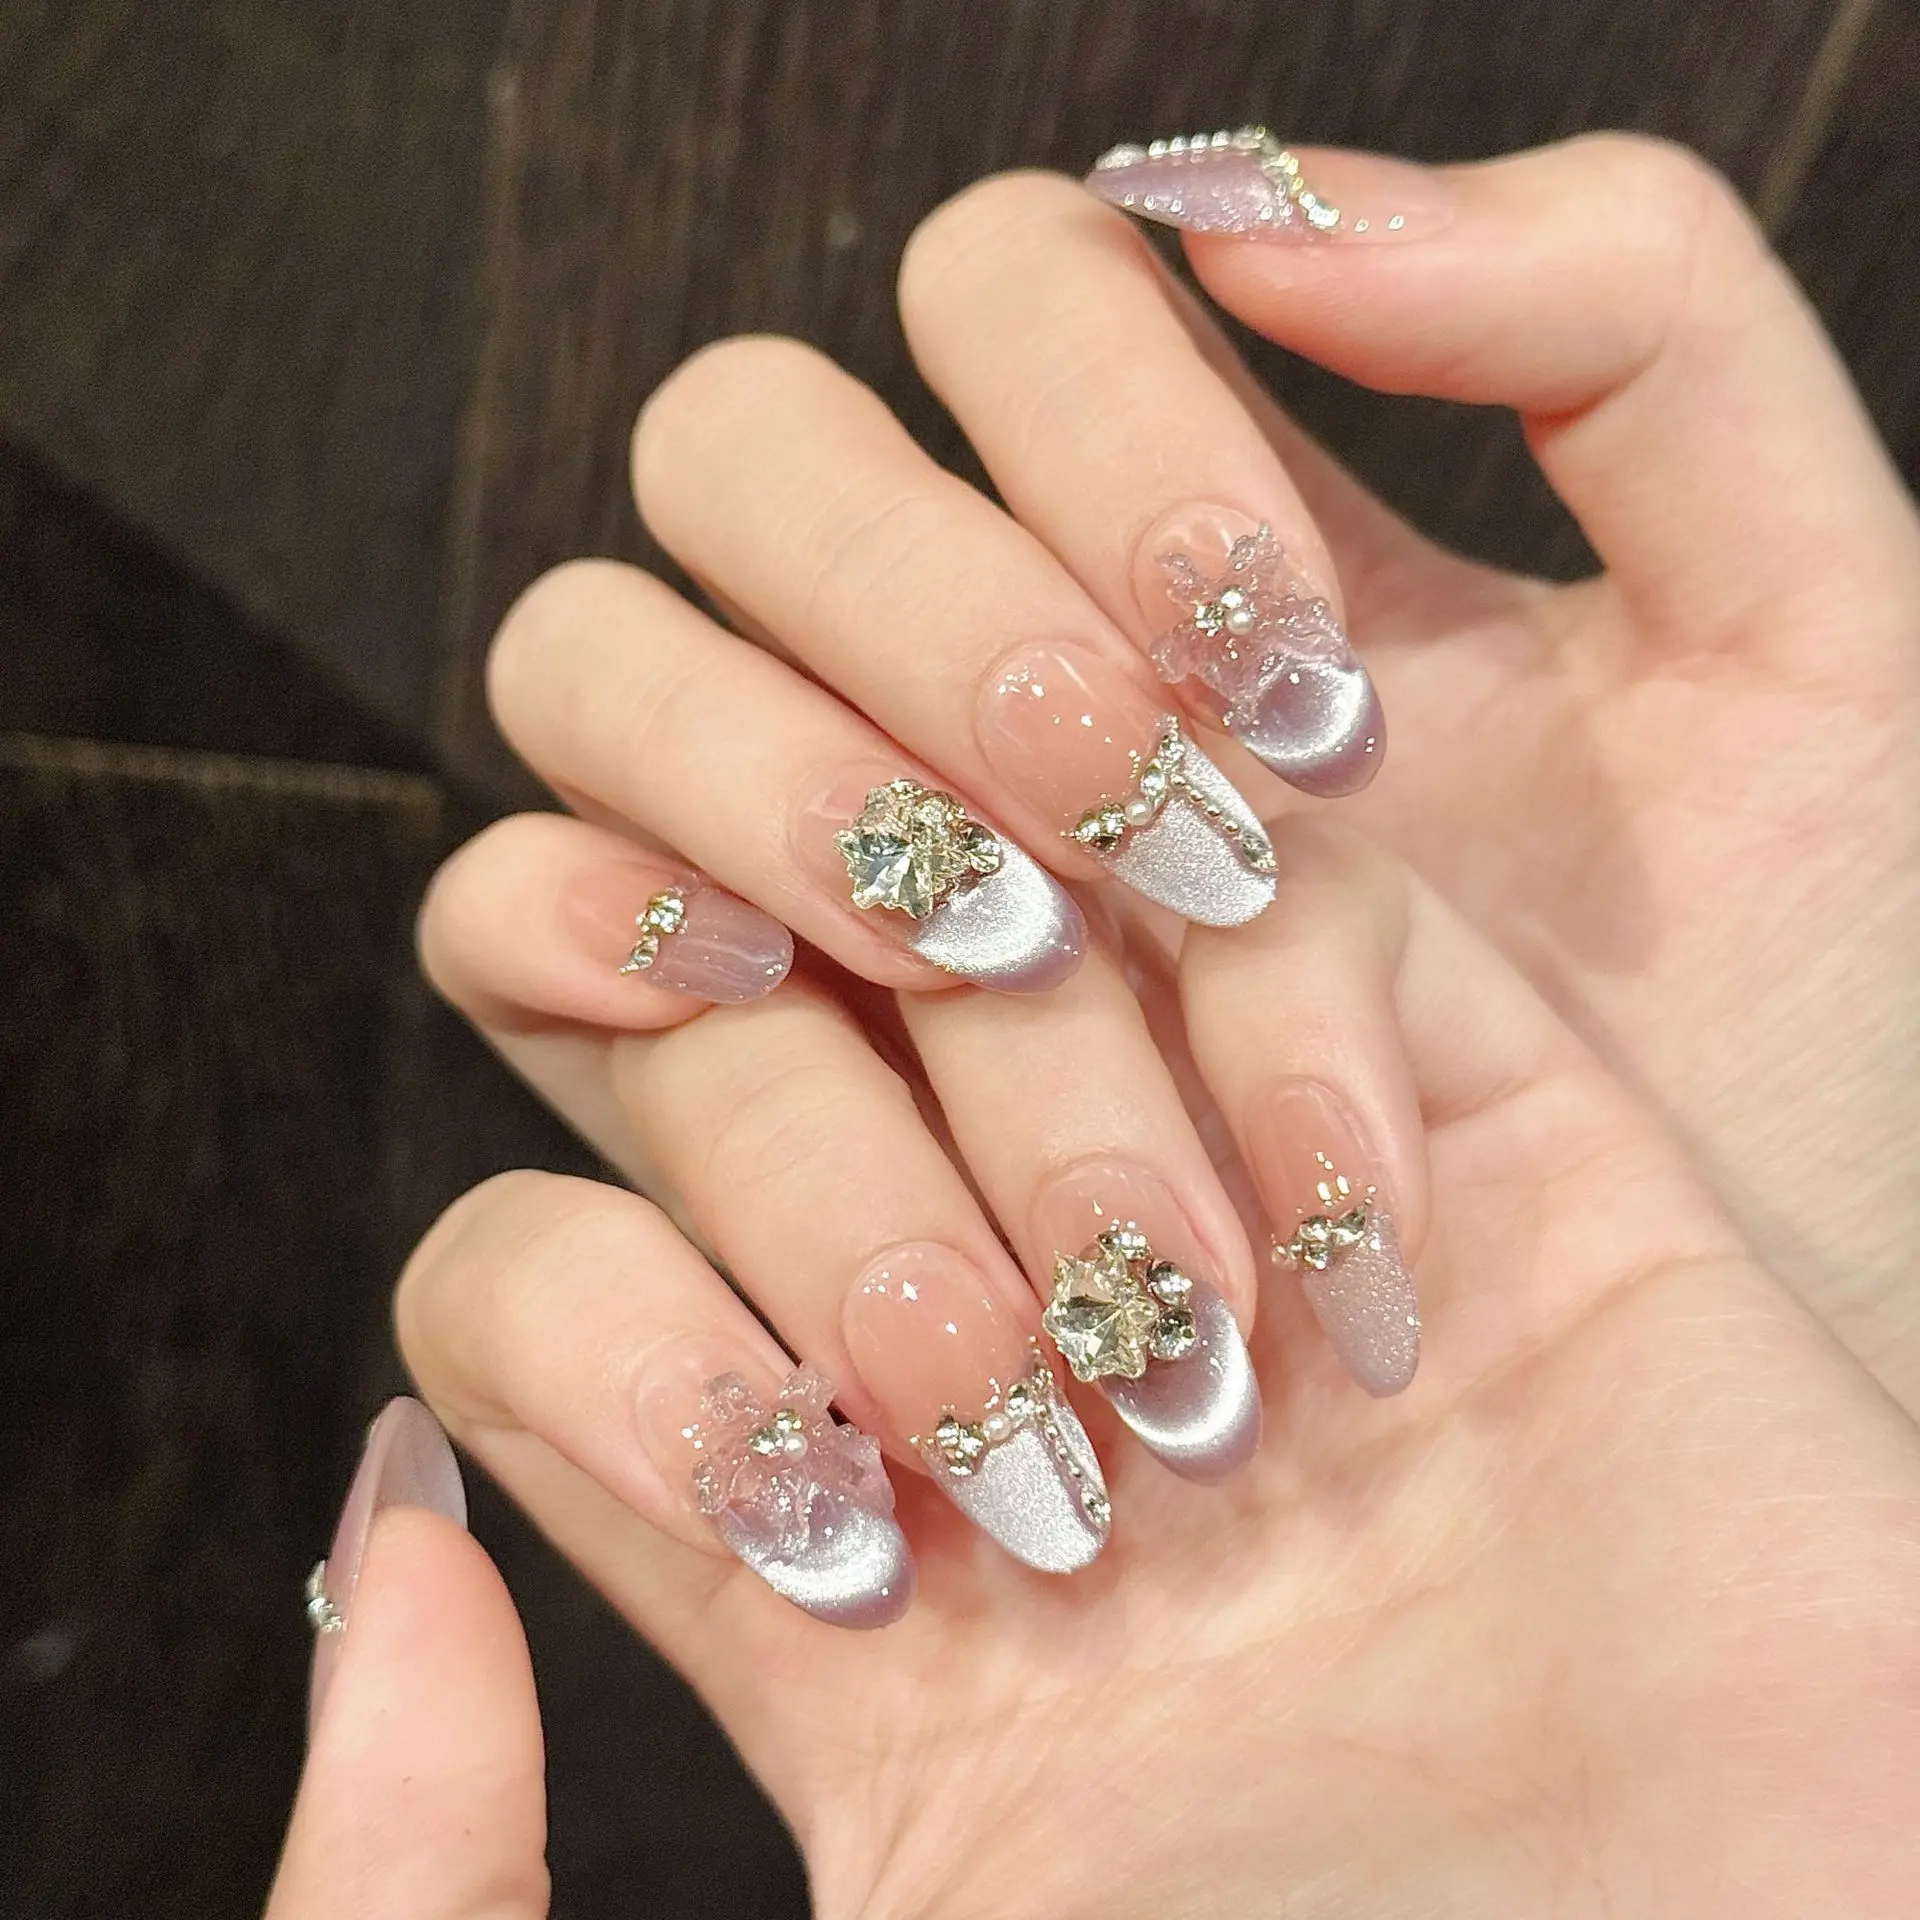
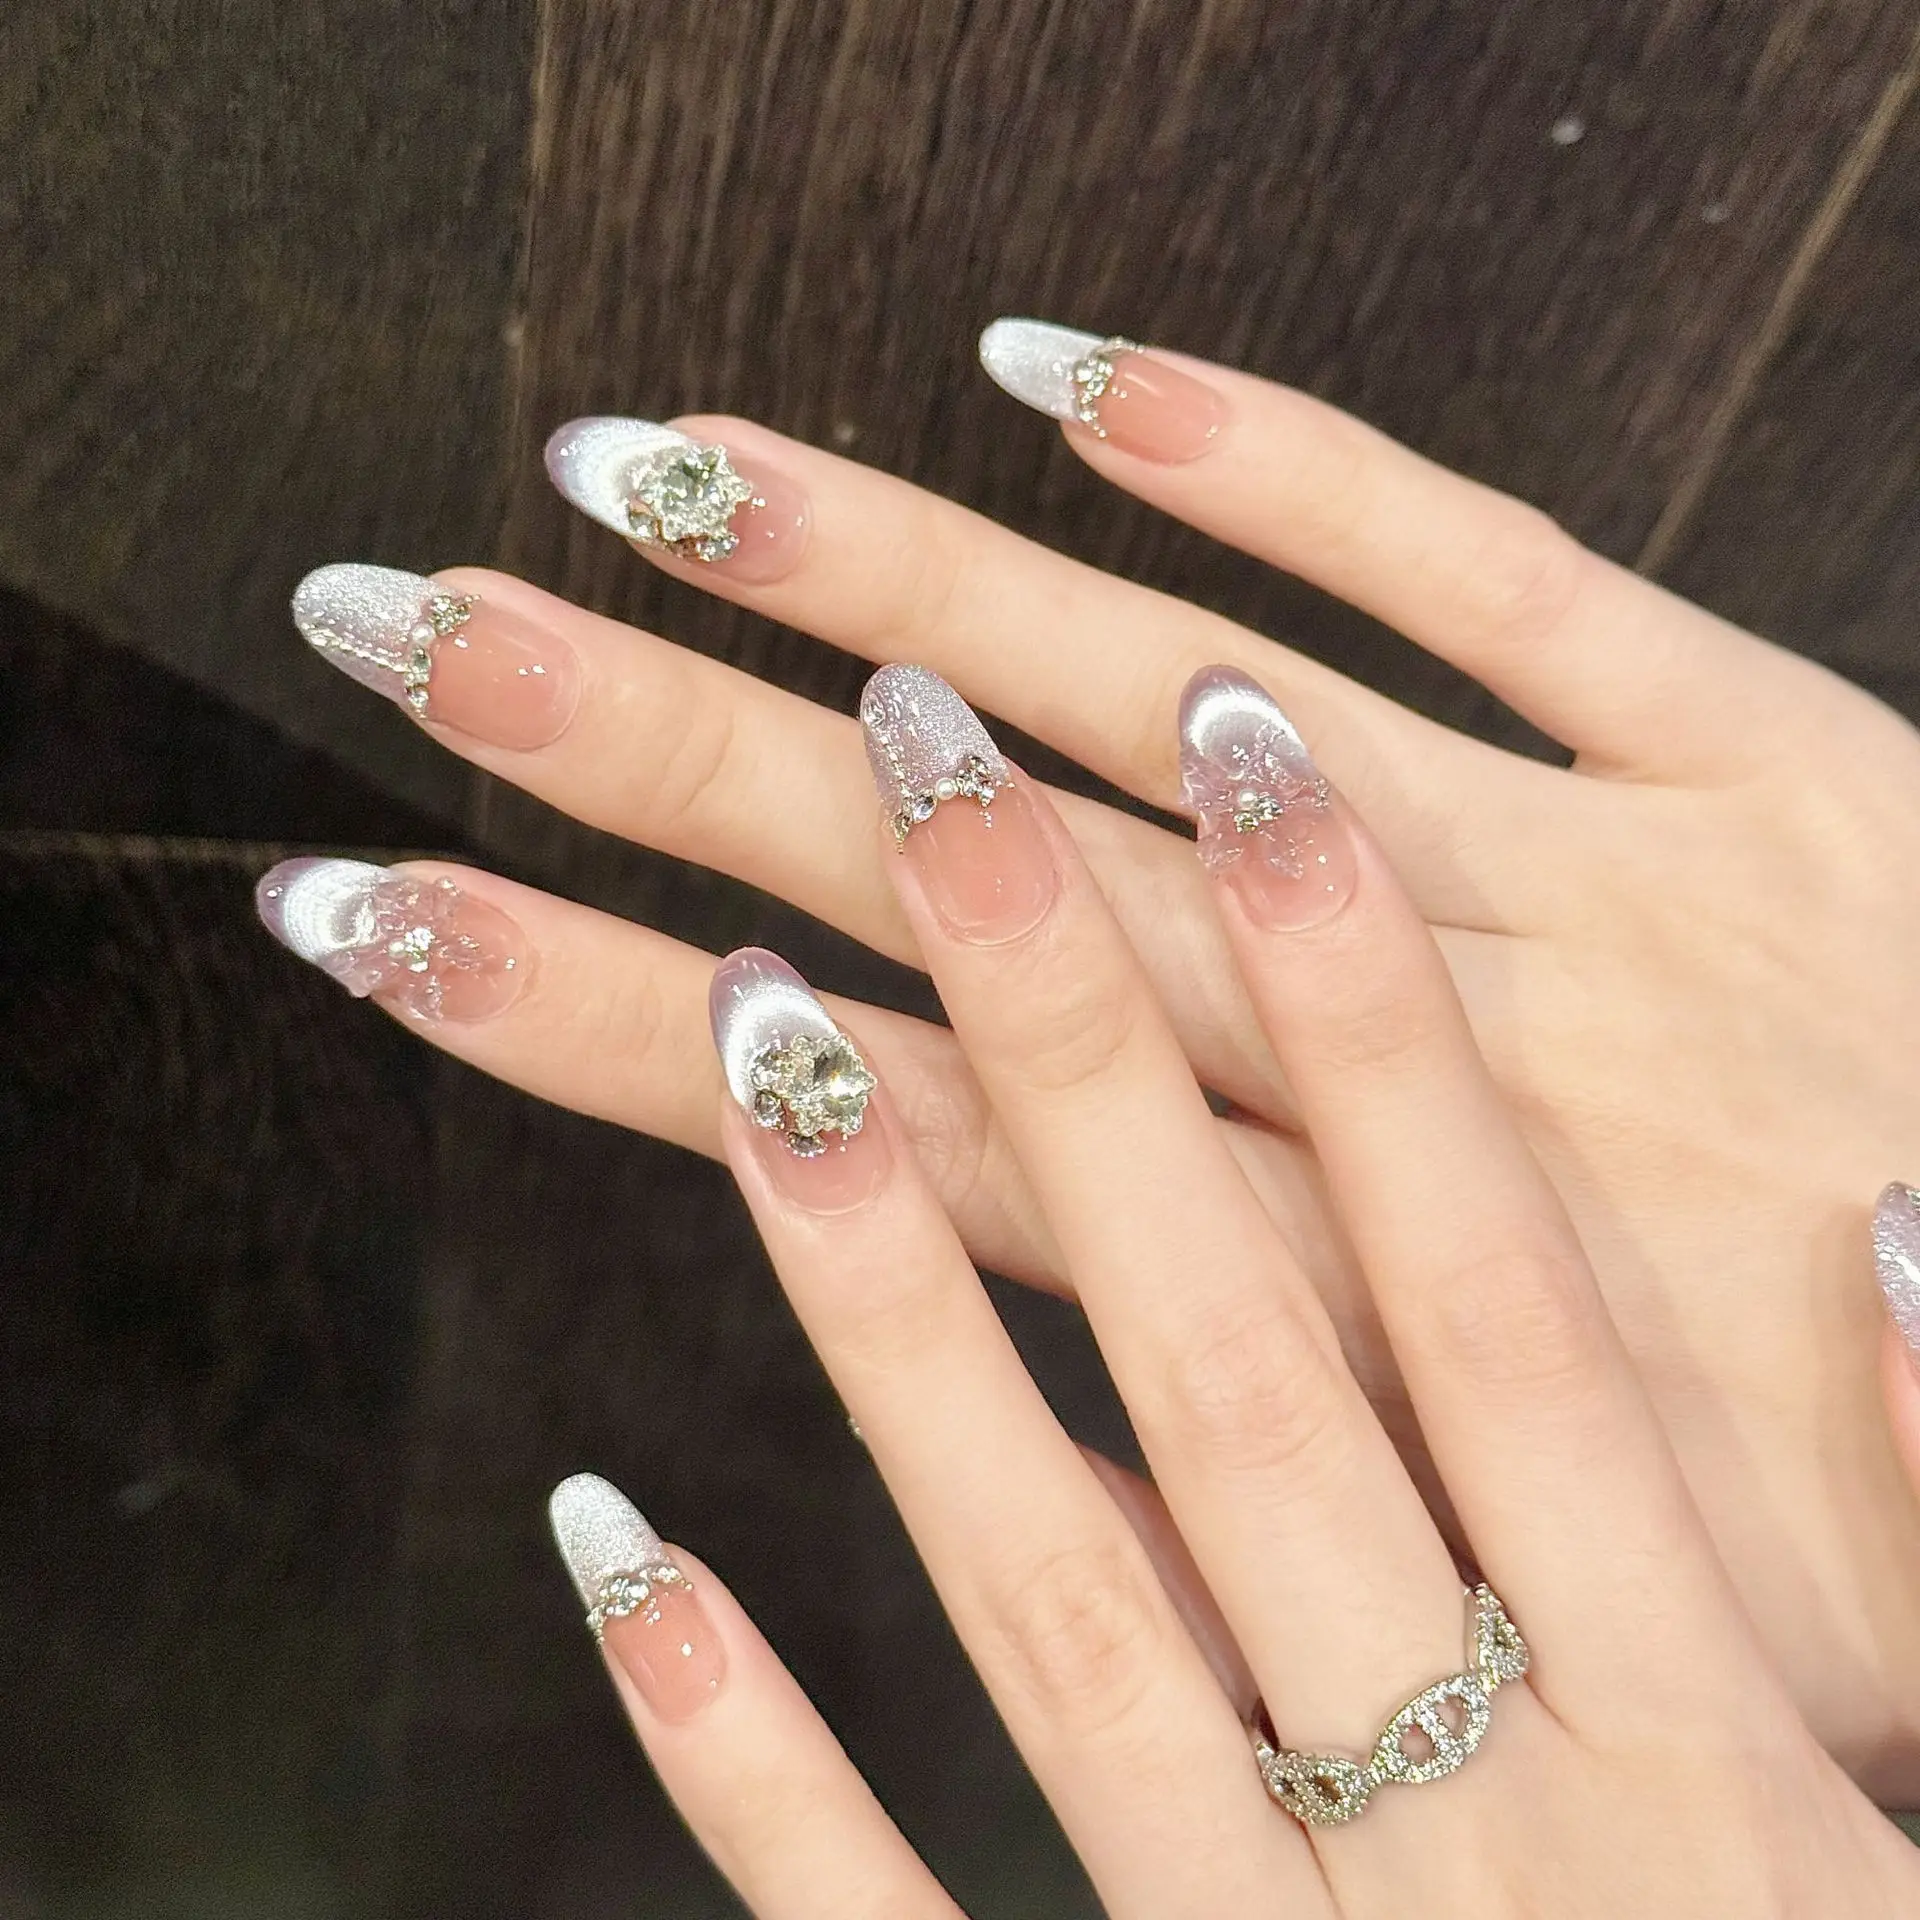
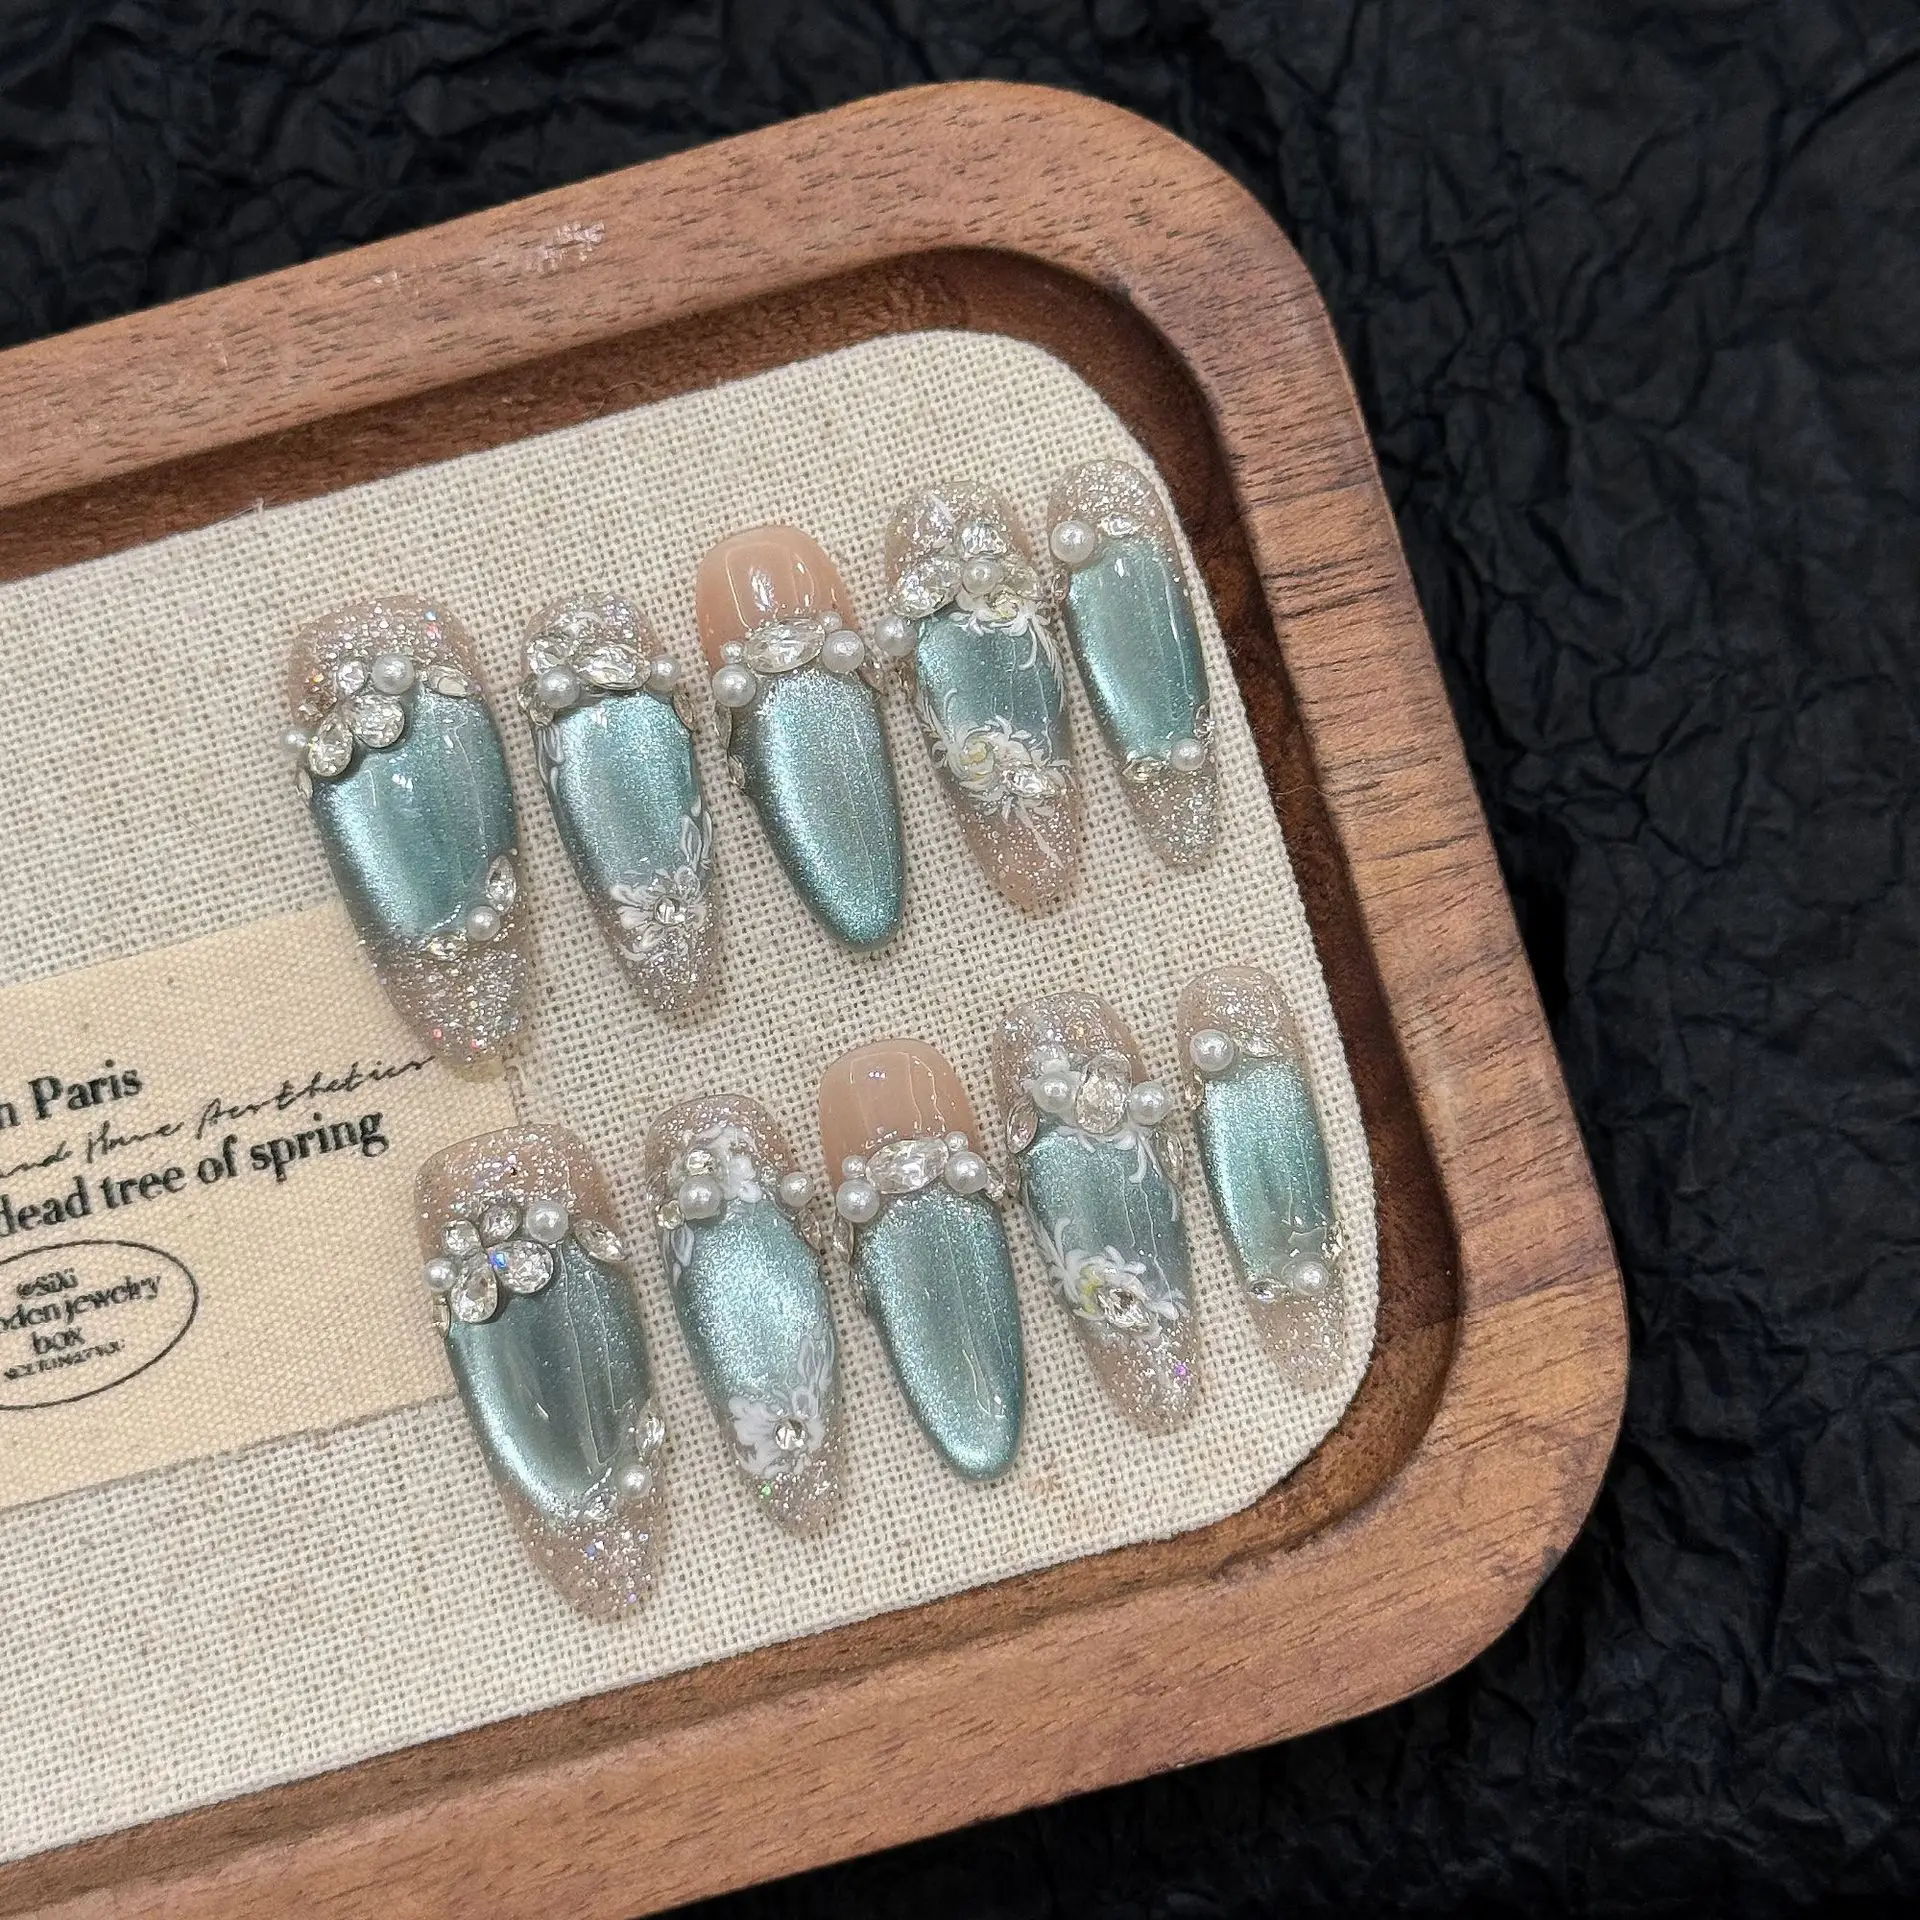
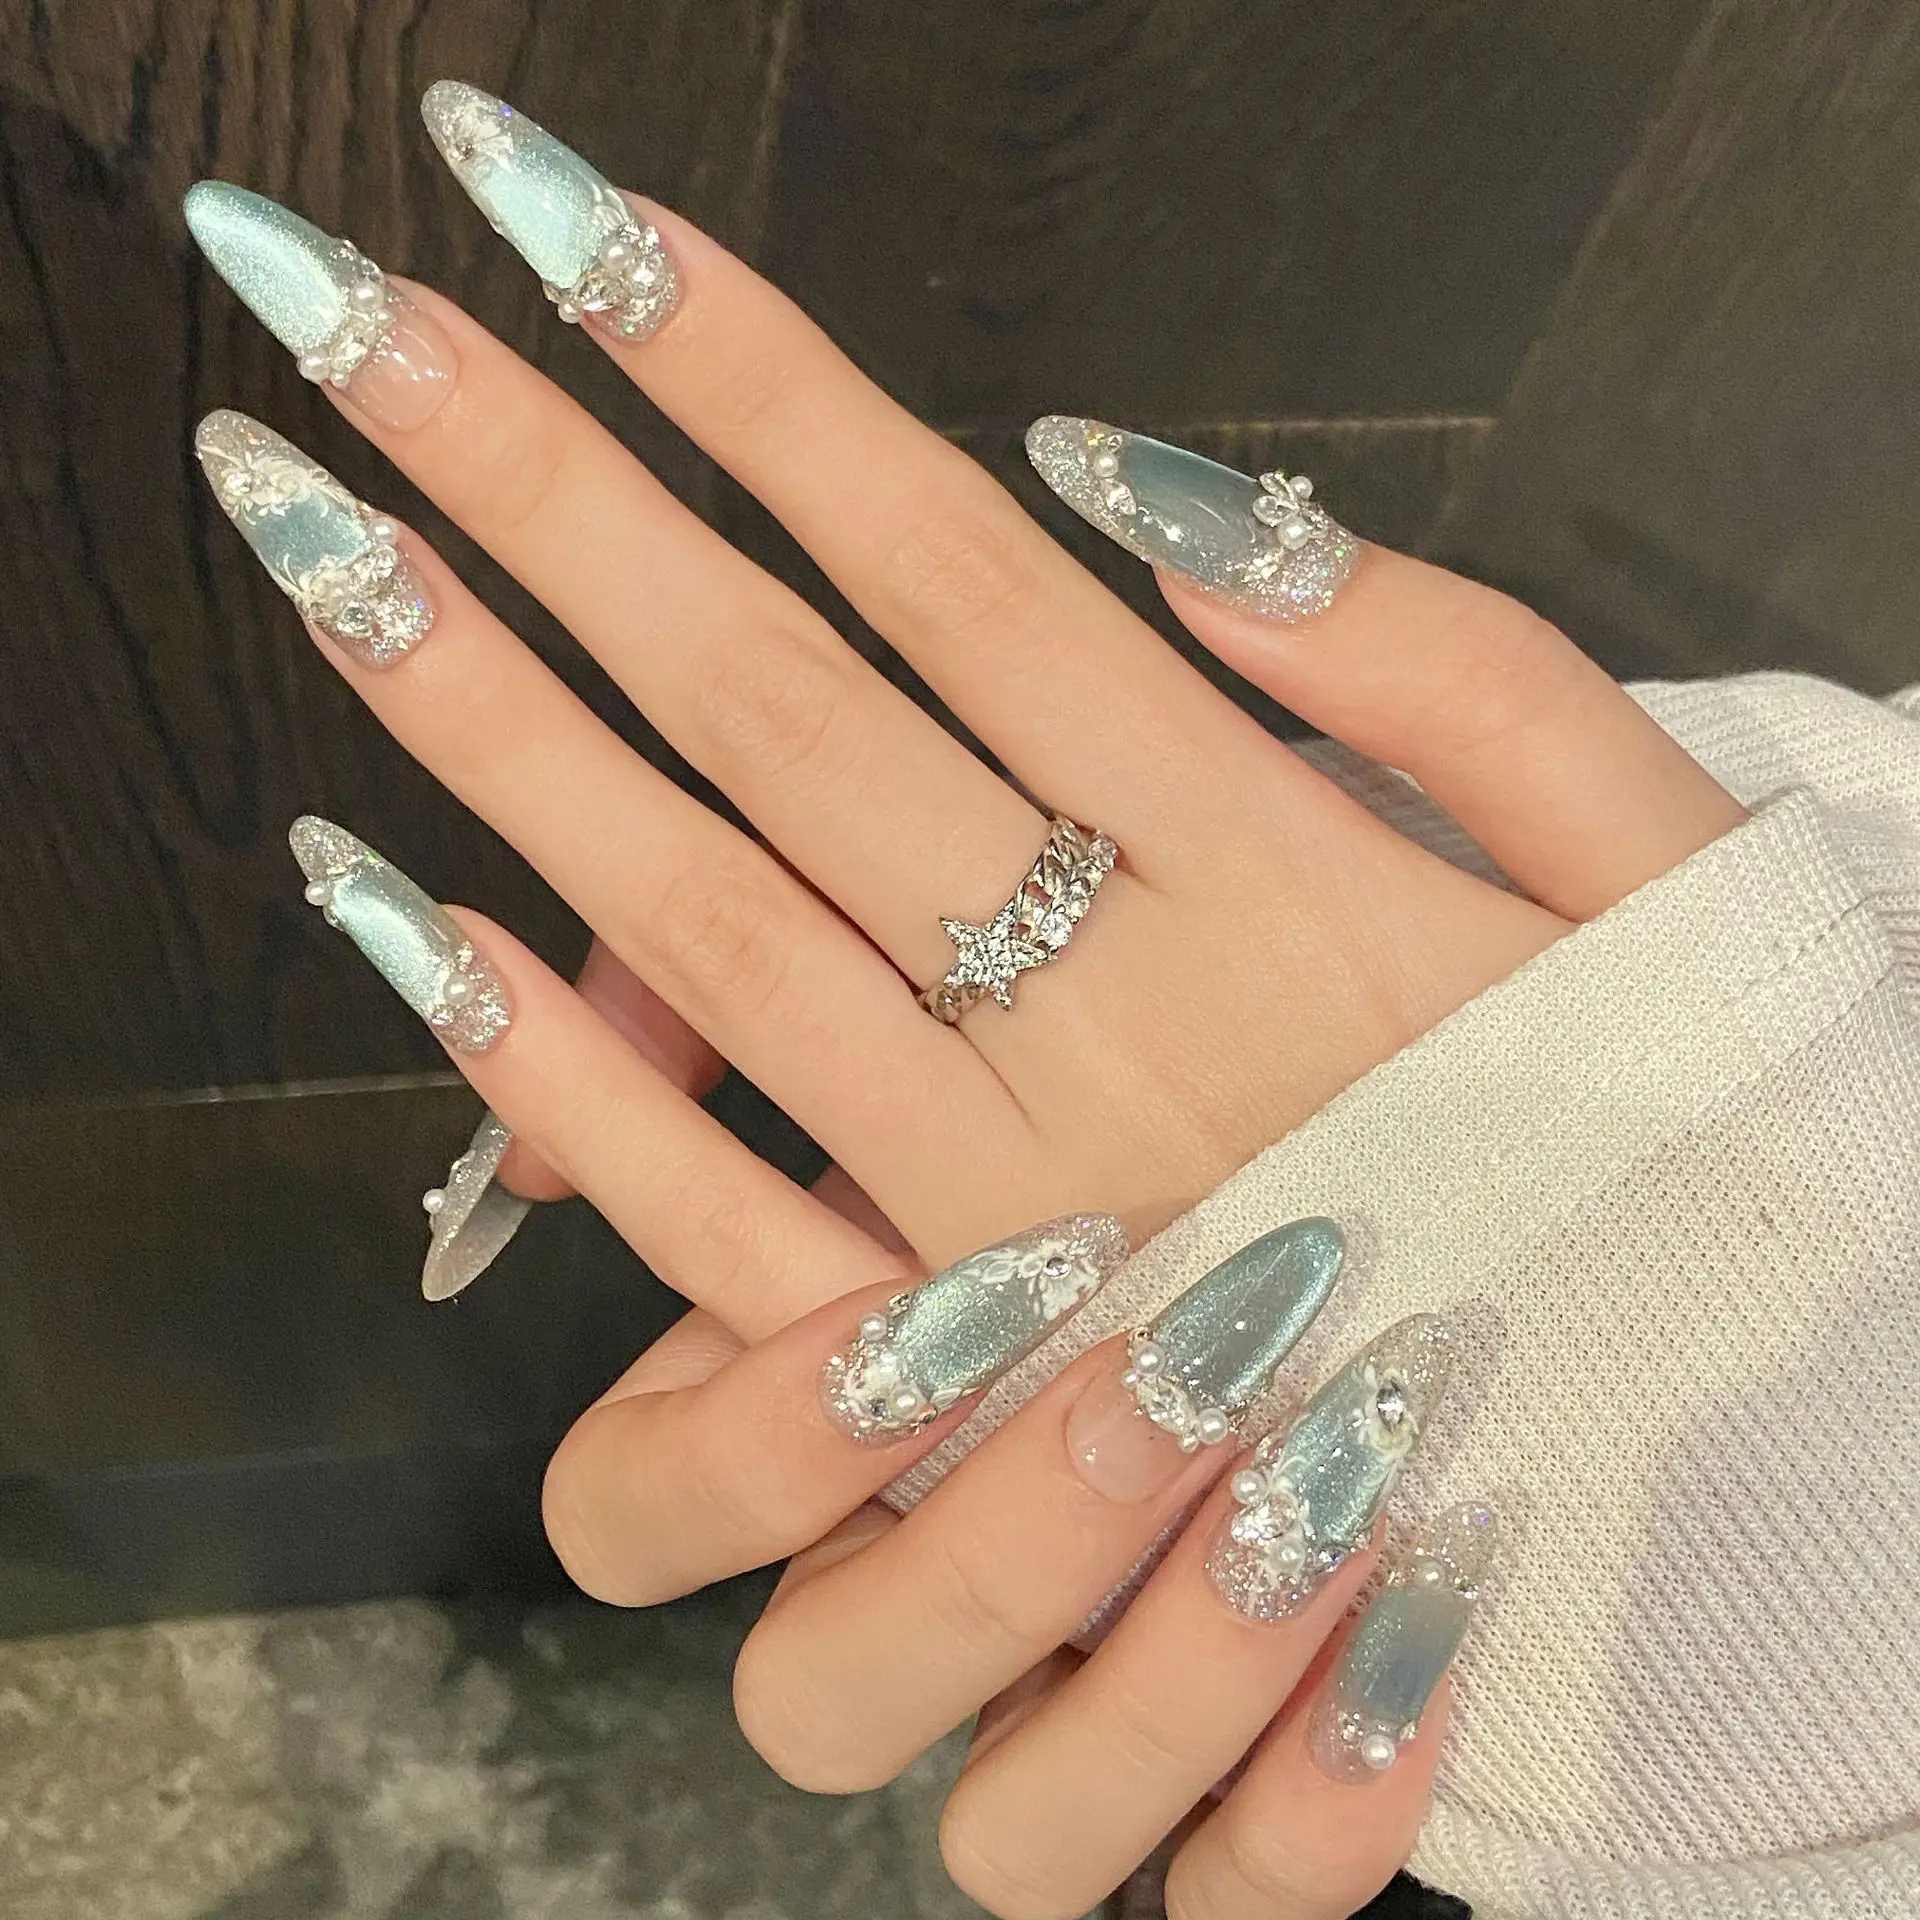
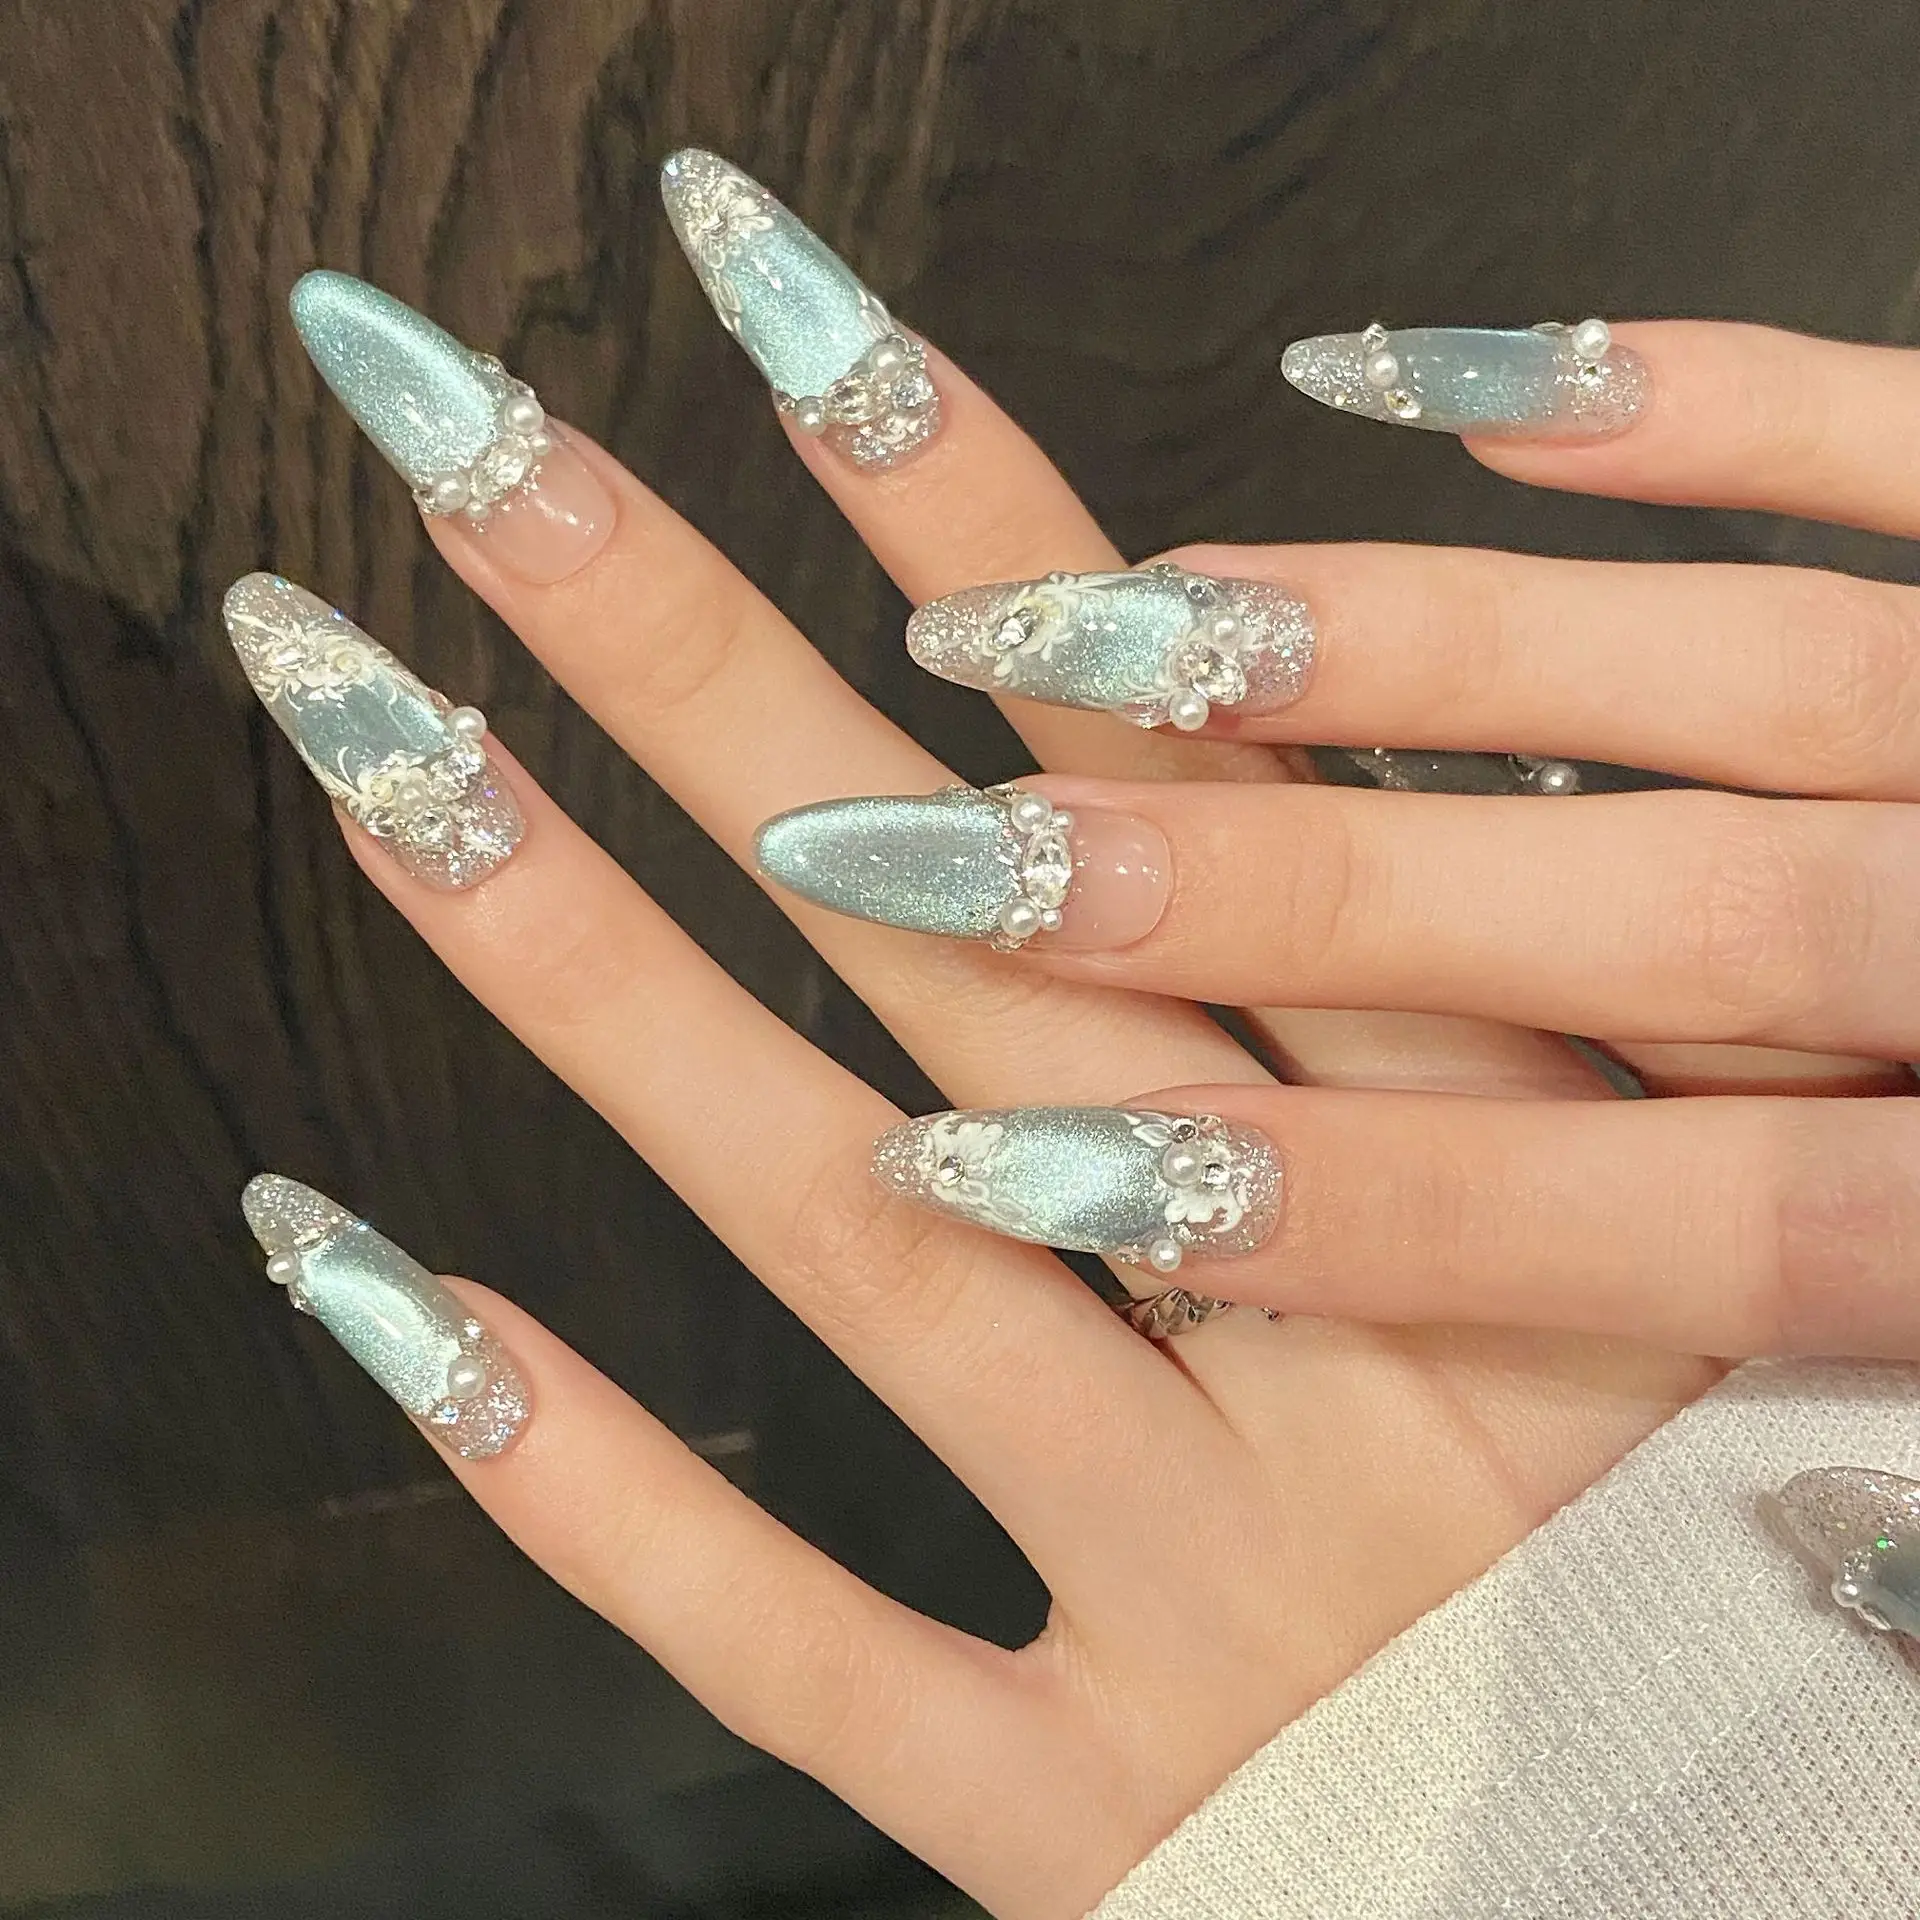
10pcs Handmade Press on Nails oval (#9)
10pcs Handmade Press on Nails oval (#9)
Couldn't load pickup availability

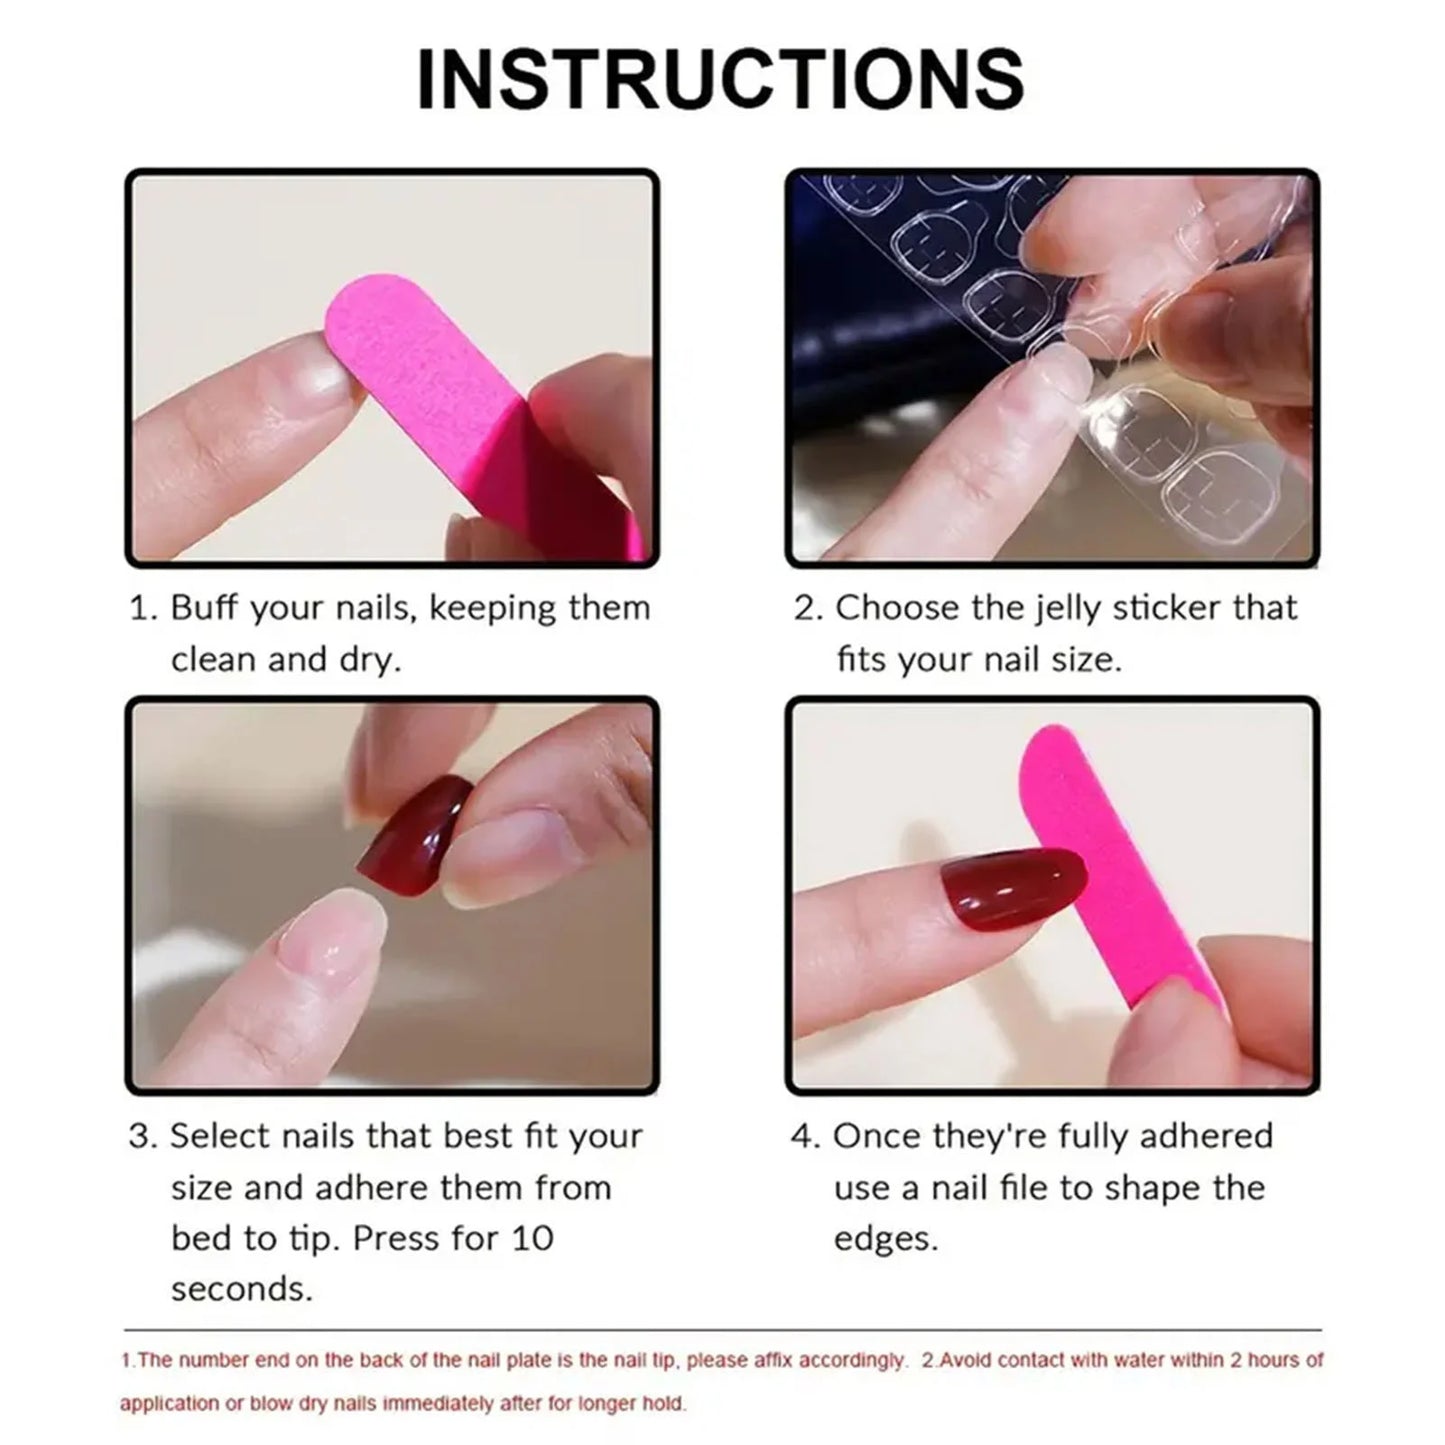
Using handmade nails (press-on or glue-on nails) is simple and can give you a salon-quality manicure at home. Here's a step-by-step guide:
Materials Needed:
Handmade nails (press-on or glue-on)
Nail file & buffer
Cuticle pusher
Alcohol wipes or nail prep solution
Nail glue (for longer wear) or adhesive tabs (for temporary use)
Step-by-Step Guide:
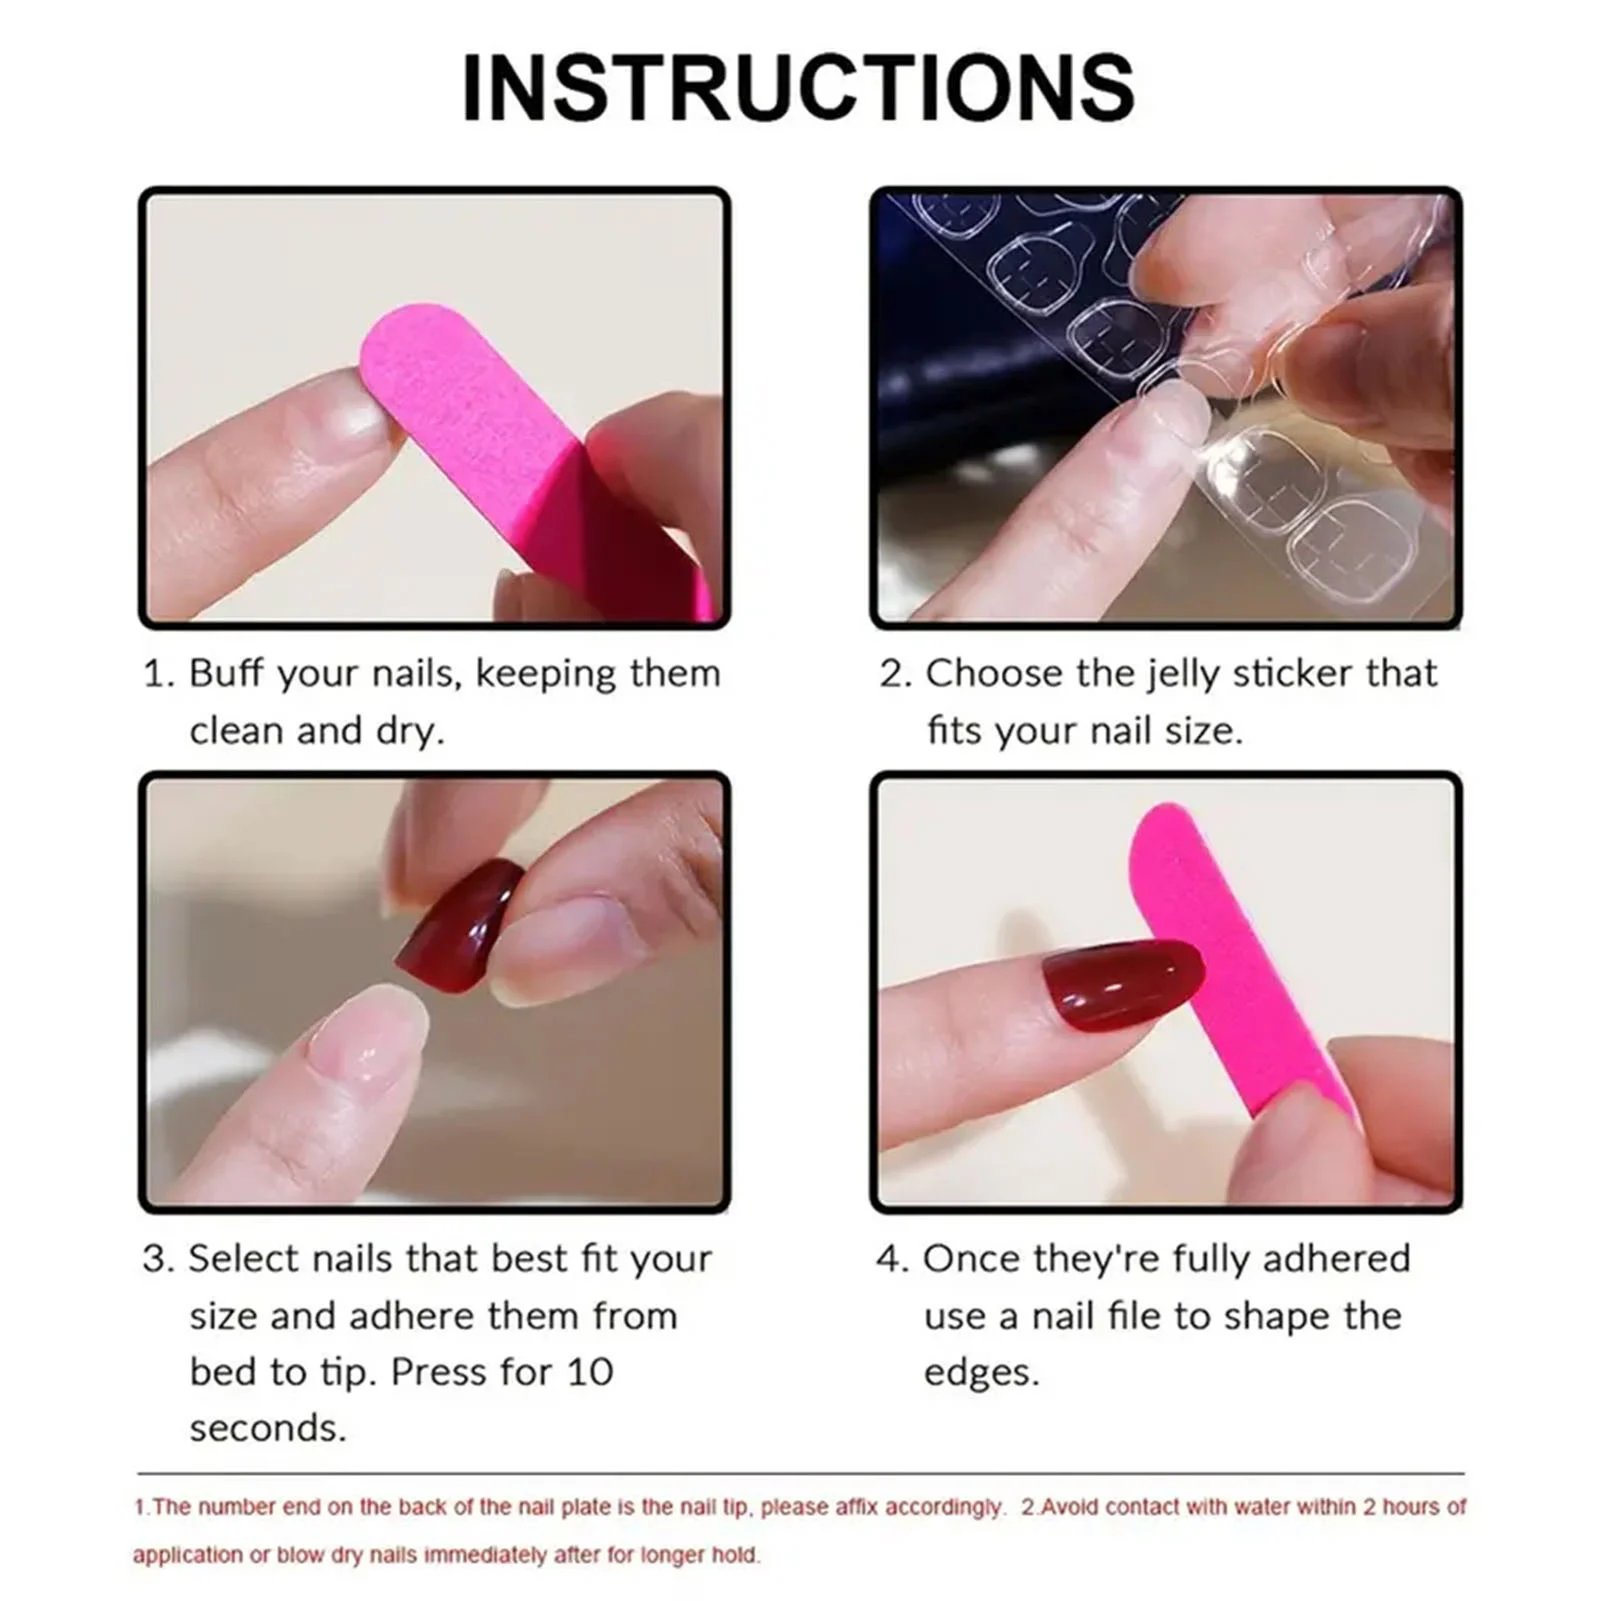
1. Prep Your Natural Nails
Trim and file your natural nails to your desired shape.
Push back your cuticles using a cuticle pusher.
Lightly buff the surface of your nails to remove shine for better adhesion.
Clean your nails with an alcohol wipe or nail prep solution to remove oil and dirt.
2. Choose the Right Nail Sizes
Lay out the handmade nails and match them to the size of your natural nails.
If needed, file the sides of the press-on nails for a better fit.
3. Application Options
With Nail Glue (Long-Lasting Wear)
Apply a thin layer of nail glue to your natural nail and the back of the handmade nail.
Press the nail onto your natural nail and hold for 10-15 seconds to ensure a strong bond.
Repeat for all fingers.
With Adhesive Tabs (Short-Term Wear)
Peel off the adhesive tab and apply it to your natural nail.
Press the handmade nail onto the adhesive tab and hold for a few seconds.
4. Finishing Touches
File and shape the handmade nails if needed.
Apply a top coat for extra shine and protection.
Avoid water for at least an hour to let the glue fully set.
5. Removal Process
Soak nails in warm soapy water for 10-15 minutes.
Gently lift the edges with a cuticle stick.
Use nail polish remover (acetone) for stubborn glue residue.
Notice:
1.Actual color may be slightly different from the image due to light effect.
2.Please allow 1-3cm deviation due to manual measurement